

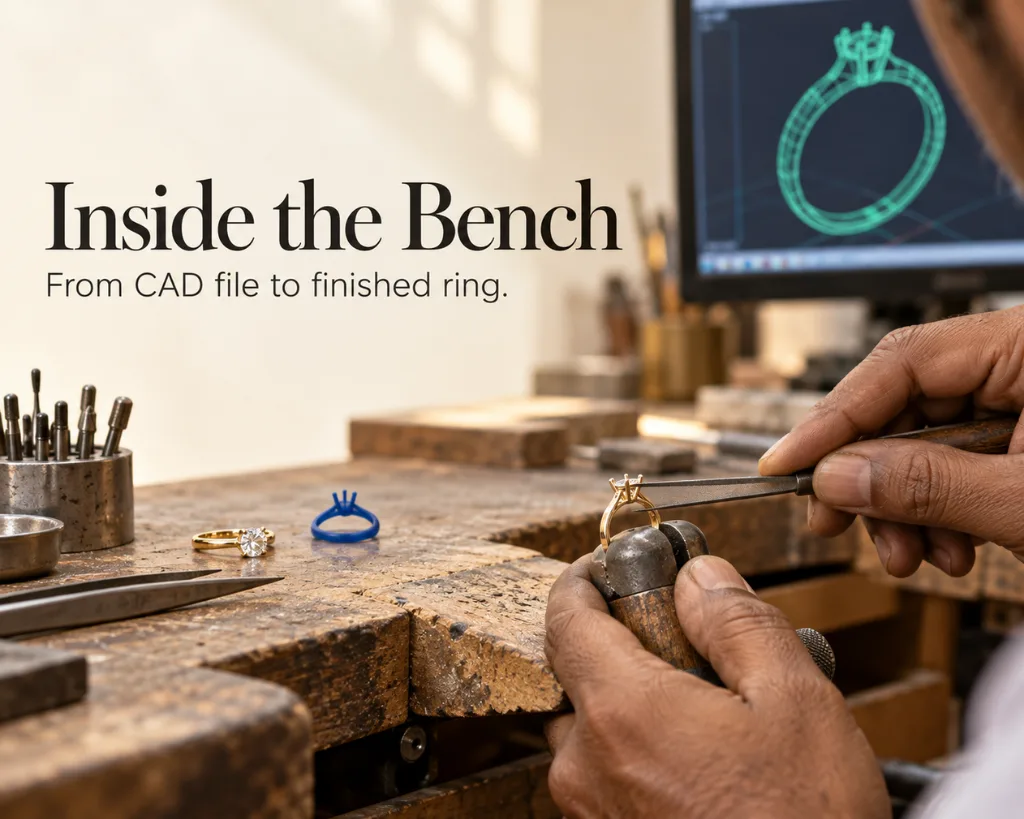
Most students begin a jewellery design programme imagining the job is drawing. Then they watch a ring being made and realise the drawing was about a fifth of it. Between an approved CAD file and a finished piece sit ten or eleven distinct operations, most of them done by hand, each capable of ruining the work done before it. Understanding that sequence is what separates a designer whose files can be manufactured from one whose cannot.
Here is the jewellery manufacturing process, step by step, as it runs on a working floor.
1. Brief, Sketch and Specification
Before any software opens, the piece is defined: metal and karat, stone sizes and shapes, finger size, target weight, and the price band it has to land in. Weight is the constraint that decides almost everything downstream, because metal is the dominant cost. A designer who ignores it produces beautiful files nobody can sell. Hand sketching still comes first in most studios, because the thinking is faster on paper.
2. CAD Modelling
The piece is built in three dimensions, usually in Rhino, Matrix or MatrixGold. This is where design becomes engineering: prong thickness, seat depth for each stone, wall thickness that will survive polishing, shank profile against the finger, and clearance for a setter’s tools. Software choice matters less than the discipline, though it does matter for employability.
3. Rendering and Approval
A photorealistic render goes to the client or merchandiser for sign-off, along with an estimated metal weight and stone list. Changes are cheap here and expensive after casting. This is also where costing is confirmed.
4. Growing the Pattern
The digital model becomes a physical one. Most floors now 3D print it in castable resin, while some still cut wax on a CNC mill. Either way the output is a pattern, an exact replica of the final piece in a material that will burn away cleanly. Print orientation and support placement are a craft of their own, because every support leaves a mark someone has to file off.
5. Tree, invest and burn out
Patterns are attached by wax sprues to a central stem, forming a “tree”, and sealed inside a steel flask. Liquid investment plaster is poured around the tree under vacuum to eliminate air bubbles, then left to set. The flask goes into a burnout oven, which is ramped up over several hours. The resin or wax vaporises, leaving a negative cavity in hardened plaster. That cavity is the mould.
6. Casting
The jewellery casting process is where the piece first exists in metal. Alloy is melted and forced into the hot flask, either by centrifugal spin or under vacuum pressure. The flask is quenched, the plaster breaks away, and what emerges is a tree of rough metal castings. Porosity, incomplete fills and shrinkage all show up here, and all of them trace back to something decided earlier: a wall too thin, a sprue too narrow, a burnout run too fast.
7. Cutting, filing and pre-polish
Castings are cut from the tree and the sprue stubs filed flush. Then comes the least glamorous and most decisive stage of bench jeweller work: files, burrs, emery and rubber wheels, working every surface until the form is true and the seats are clean. A piece that is not properly prepared here can never be rescued by final polishing. Most of what a viewer reads as “quality” in finished jewellery was decided at this bench.
8. Assembly and Soldering
Multi-part pieces are fitted and joined, including jump rings, bails, hinges, clasps and gallery components. Solder has to flow at a temperature that will not slump the parent metal, and joints must sit where stress will not find them. Cadmium-bearing solder, the old “KDM” practice, has been phased out on health grounds in favour of cadmium-free alloys.
9. Stone Setting
This is the highest-skill operation on the floor, and where value is most easily destroyed. A chipped centre stone at this stage is a write-off. Setters work under a microscope or loupe, cutting seats and moving metal over each stone. The main techniques are these:
• Prong or claw setting bends metal claws over the stone, giving maximum light and minimum protection.
• Bezel setting surrounds the stone with a rim of metal, and it is the most secure of the group.
• Pavé and micro-pavé hold many small stones with tiny shared beads, giving a continuous surface of stone.
• Channel setting holds stones between two parallel walls with no metal between them.
• Flush or gypsy setting sinks the stone level with the metal surface.
10. Final Polish and Plating
The piece is polished through progressively finer compounds, then cleaned ultrasonically and steamed. White gold is usually rhodium plated for whiteness, and some pieces get matte, hammered or sandblasted finishes, which have to be masked and applied after polishing. Care is needed around softer stones, since emerald, opal and pearl should never see an ultrasonic bath, a point we go into in how to look after jewellery at home.
11. Quality control, hallmarking and certification
Final inspection checks stone security, finger size, weight against specification, symmetry and finish. Gold is then sent for assaying and hallmarking, returning with the BIS mark, purity grade and a six-digit HUID, the marks explained in BIS hallmarking and the six-digit HUID. Diamond pieces may also go for certification.
Why designers are taught to do this by hand
None of these stages can be learned from a screen. Students at IIGJ work at the bench, in the casting room and under the setter’s microscope alongside their CAD training, because a designer who has filed a casting and set a stone designs differently, and better, afterwards.
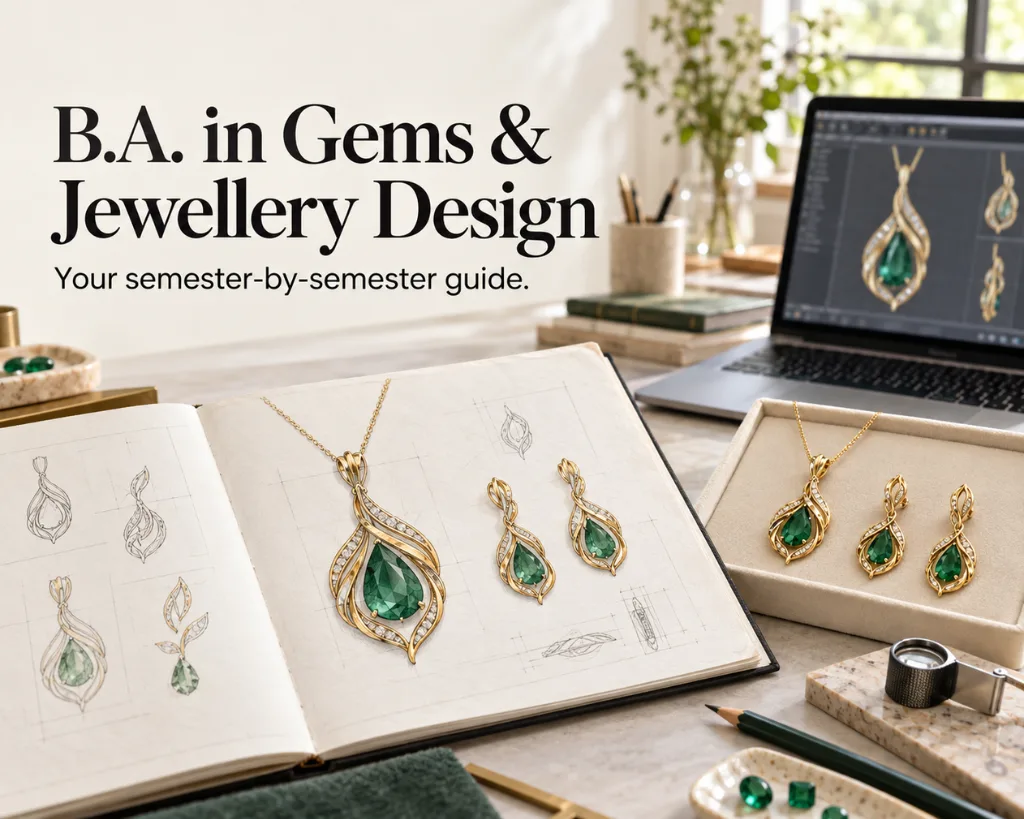
The Diploma in Jewellery Manufacturing, the bench work certificate and the metal setting certificate each focus on part of this chain, while the B.A. in Gems & Jewellery Design and B.Des in Jewellery Design covers the whole of it across three years. Diploma, postgraduate diploma and certificate programmes run across IIGJ’s institutes, so the institutes page shows what is taught where, and admissions can help you get started.